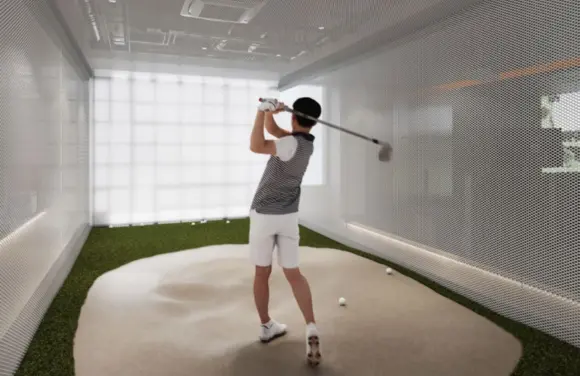
Most people planning a golf simulator setup spend a lot of time thinking about the screen, the launch monitor, and the projector. Flooring tends to get decided at the last minute, and that’s where a lot of money gets wasted on materials that don’t suit the setup, wear out quickly, or affect performance in ways the buyer didn’t anticipate. The floor is the surface you’re standing on for every single session, and for putting and chipping simulation, it affects shot quality directly. This guide covers everything you need to make the right choice for your specific setup.
Why Your Golf Simulator Flooring Matters?
Golf simulator flooring ideas are not just an aesthetic decision; it directly affects how your simulator performs and how comfortable every session feels. Once you know how do golf simulators work and have decided on your simulator. The next step is deciding on your flooring. Here’s what wrong flooring can impact:
- Impact and joint protection: You’re hitting hundreds of shots per session. Hard golf flooring with no shock absorption puts repetitive stress on your wrists, elbows, and knees, particularly if you’re practicing with irons.
- Swing stability: If you’re moving or slipping during your swing, both your mechanics and your launch monitor data are affected. Stable flooring produces consistent, repeatable stances.
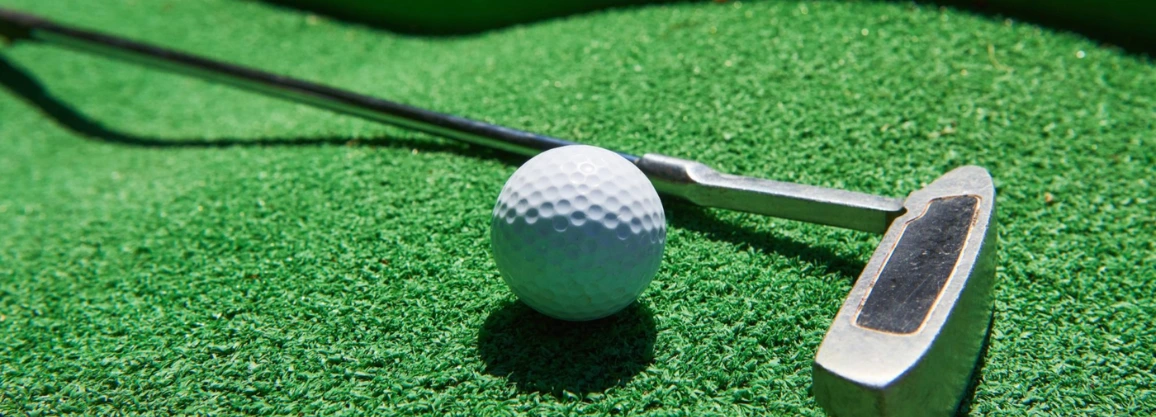
- Putting accuracy: Putting realism depends almost entirely on the floor surface. A flat, consistent surface with the right roll speed matters more for putting simulation than almost any other variable.
- Room finish and value: In a dedicated simulator room or a finished basement, the flooring contributes to the overall feel of the space, which matters if you’re treating the installation as a long-term investment in your home.
- Durability under repeated use: A mat that deteriorates after 18 months under regular use is not a cost-saving. High-quality simulator flooring pays for itself over the long run.
What Makes Good Golf Simulator Flooring?
The right golf simulator floor depends on how you’re using the space, what type of simulator you’re running, and how much of the floor needs to serve as a hitting surface versus a standing area. The table below covers the key features with use-case context for each.
| Feature | Why It Matters | Use Case | Priority Level |
| Durability | Heavy daily use wears cheap materials quickly | Commercial setups, high-frequency home use | Essential |
| Shock absorption | Protects joints during extended practice sessions | Any setup with frequent ironwork | High |
| Ball roll consistency | Determines putting realism and chip accuracy | Putting and chipping areas | High for simulation |
| Swing stability | Prevents movement and slipping during the swing | Hitting the strip and the stance area | Essential |
| Easy maintenance | Dirt and debris accumulate quickly on simulator floors | Garage and basement setups | Medium |
| Moisture resistance | Garages and unconditioned spaces have humidity variation | Garage or outdoor-adjacent rooms | High for these settings |
| Appearance | A finished, professional look completes the simulator room | Dedicated simulator rooms | Medium |
| DIY golf simulator flooring installation | Reduces setup cost significantly | Home builds | High for budget builds |
| Replaceability | Hitting strips wear faster than the surrounding areas | All setups with a dedicated hitting mat | Medium-high |
What are the Different Types of Golf Simulator Flooring?
The choice of golf simulator flooring should match your space, your budget, and how the room is used, not just what looks good in a showroom. Each material below has a distinct set of trade-offs, so choose the one that best suits your purpose.
Turf
Artificial simulator turf is the most popular choice for dedicated simulator rooms and the most visually convincing surface for recreating an outdoor golf environment. The best turf for golf simulator, like Golfzon Vision SP, provides a consistent ball roll for putting, a realistic stance feel, and reasonable shock absorption when layered over foam or rubber underlayment.
When to consider it: Choose a golf simulator turf for dedicated rooms, basements, and any setup where putting realism matters.
Benefits of turf flooring: Realistic surface feel, good ball roll for putting, visually immersive, holds up well under regular use when quality is adequate.
Limitations of turf flooring: Cheaper turf compresses and flattens under repeated use and loses roll consistency. Turf doesn’t handle moisture well without proper underlayment, so garage installations need a vapor barrier layer first.
Best settings: Dedicated indoor simulator rooms, finished basements, climate-controlled spaces.
Hitting Mats
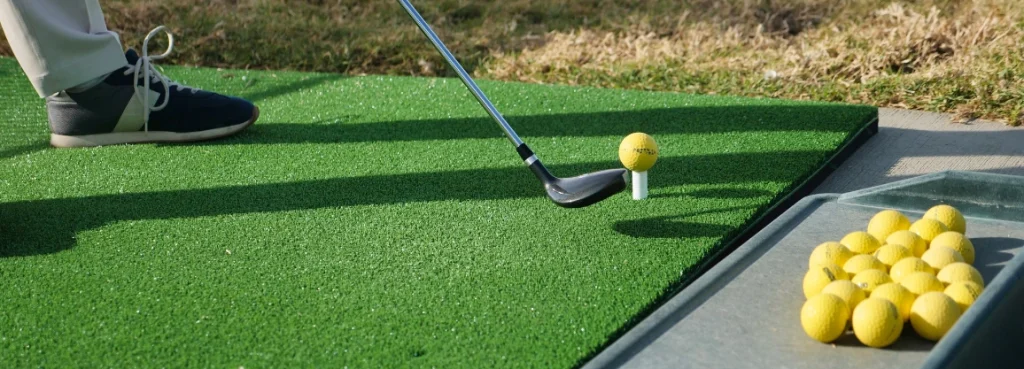
A dedicated golf simulator mat handles the hitting strip itself, the small area where the ball is placed and struck. Most serious simulator setups combine a hitting mat over a larger turf or tile floor, rather than using a single material throughout.
When to consider it: When you want to separate the hitting surface from the rest of the floor, which is useful because hitting strips wear much faster than surrounding areas and can be replaced independently.
Benefits of hitting mats: Hitting mats designed for simulation replicate fairway, rough, and tee surface conditions depending on the model. The Golfzon Vision SP Plus includes integrated hitting mats specifically designed for the simulator’s sensor system, which matters because a mat that’s too thick or the wrong material can interfere with data accuracy.
Limitations of hitting mats: Stand-alone mats without underlayment can slide during the swing and create inconsistent data. They also need to be level with the surrounding flooring to prevent a tripping hazard and unnatural stance angle.
Best settings: Any simulator setup, always used in combination with a surrounding floor surface rather than standalone.
Rubber/ Foam Tiles
Interlocking rubber or foam tiles are a practical, modular option for garage golf simulator setups and budget builds. They provide genuine shock absorption, easy installation without adhesive, and simple replacement of individual tiles when one section wears.
When to consider it: Garage builds, DIY golf mat platform setups, or any installation where budget and flexibility matter more than visual finish. Also useful as an underlayment layer beneath turf for additional cushioning.
Benefits of rubber or foam tiles: Very easy to install and reconfigure, good impact absorption, resistant to moisture and temperature variation in unconditioned garages. Affordable enough to replace damaged sections without redoing the whole floor.
Limitations of rubber or foam tiles: Foam tiles compress under heavy use over time. Rubber tiles can create seams that affect ball roll if not well aligned. Not the most visually polished option for a dedicated simulator room.
Best settings: Garage simulator builds, multi-purpose rooms where the simulator shares space with other uses, and underlayment beneath turf.
Hardwood
Hardwood and laminate flooring are used in higher-end dedicated simulator rooms where aesthetics are a priority alongside performance. They’re rarely used under the hitting strip itself, but they work well as the surrounding surface in a finished room.
When to consider it: When the simulator room is part of a finished living space, and the visual standard of the floor needs to match the rest of the property. Common in luxury home golf simulator installations.
Benefits of hardwood flooring: Exceptional visual finish, long lifespan, and easy to clean. Works well with a putting mat laid over it for putting simulation.
Limitations of hardwood flooring: Zero shock absorption on its own, requires a mat wherever impact occurs. More expensive than turf or tile for large-area coverage. Can be slippery in socks, which affects stance stability.
Best settings: High-end dedicated simulator rooms and luxury home installs where a hitting mat and putting mat are used over the hardwood surface.
Common Flooring Mistakes in Golf Simulator Builds to Avoid
Most flooring problems in simulator setups are predictable and avoidable, and they’re also expensive to fix after the fact. Thus, here are some common simulator flooring mistakes you must avoid.
- Buying cheap turf: Low-cost turf compresses under regular use within months and loses the consistent ball roll that makes putting practice useful.
- Ignoring room height when planning the floor: Even a few centimeters of flooring build-up matters in a room with limited ceiling clearance. Therefore, understanding how much space do you need for a golf simulator is essential.
- Skipping underlayment: Turf laid directly on concrete offers essentially no shock absorption and no moisture protection. An underlayment layer is not optional in most installations.
- Loose seams: Turf or tile seams that aren’t properly secured catch shoes, create inconsistent ball roll paths, and become safety hazards over time.
- Mixing surface heights: A hitting mat that sits higher than the surrounding floor creates a stance angle difference that affects every swing. All surfaces in the hitting zone need to be flush.
- Improper hitting strip alignment: The hitting mat needs to be positioned at exactly the right distance from the screen for both sensor accuracy and safe ball flight within the space.
- Using the wrong adhesive for turf: Many turf adhesives aren’t designed for the thermal variation in a garage or basement environment. So, use adhesives specifically rated for the temperature range of your space.
Conclusion
The flooring for golf simulator is one of the most consequential decisions in any simulator build, and one of the most frequently underestimated. The right combination of materials affects performance, protects your joints, keeps your data clean, and determines how long the installation holds up under regular use. Whether you’re building a garage setup on a budget or outfitting a dedicated room around a Golfzon Vision SP or Vision SP Plus, starting with the right floor makes everything else work better. For simulator recommendations and complete build guidance, GTBent is a good place to start.